TOUCHUP MADE EASY. FOR EVERYONE.
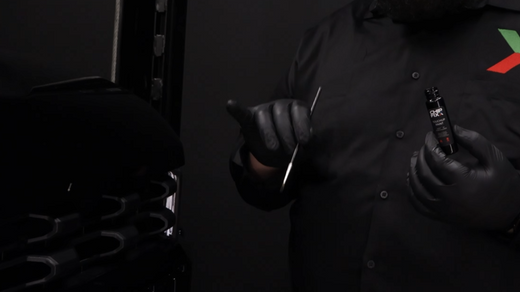
Step 01
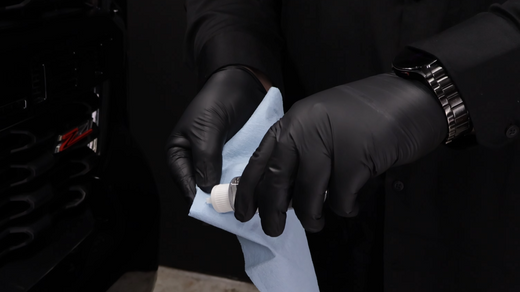
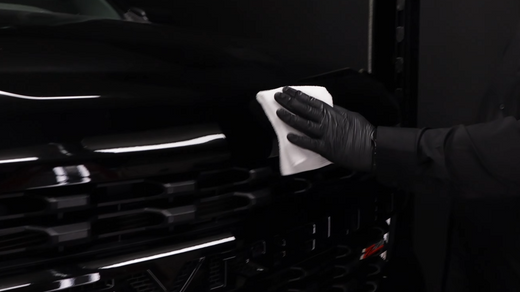
clean
- Start with a clean and dry vehicle.
- Apply a small amount of Cleaner-Leveler directly onto blue leveling cloth.
- Gently wipe the repair area to remove wax, grime, and debris.
- Use a folded corner of the blue leveling cloth to get inside chips and scratches, ensure wax, dirt, debris is removed.
Step 02
Check
- Look closely at the chip or scratch in good lighting, natural sunlight works best.
- Note whether the damage is a chip, a scratch, or on top of the clear-coat.
- If you can feel the edge with your fingernail, the paint layer is broken and needs filling.
- Deeper chips may need two thin coats.
Step 03
plan
- Start at the back of the vehicle, work your way up the driver's side, around the front, and finish along the passenger side.
- Common areas for paint chips are forward facing panels like the hood, bumper, and fenders.
- Also check the top of the windshield, door edges, fender edges, and inside the doors.
Watch it in action →

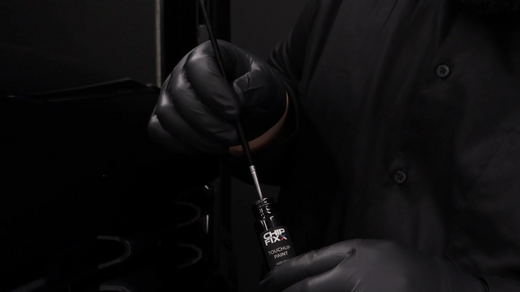
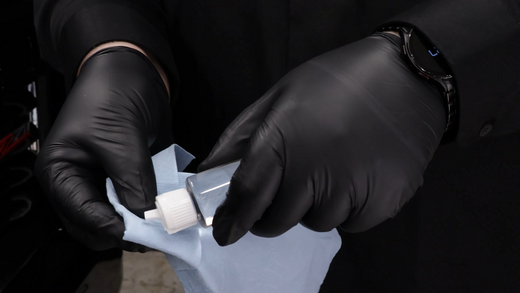
Step 01
Shake Your Paint
- Shake your hand-mixed paint bottle vigorously for a full 60 seconds.
- The pigments settle during shipping, the shaking step is critical for colour accuracy.
- You'll hear the mixing nut inside.
- Do this every time you pick up the bottle during the repair.
Step 02
Load the Brush
- Dip the premium brush into the paint, just the tip, not the full bristle.
- Wipe off the excess on the inside edge of the bottle so the brush isn't overloaded.
- A thin, controlled application is always better than one heavy coat.
- Less is more, you can always add another pass.

Step 03
Fill the Chip
- Hold the brush perpendicular and gently dab - don't stroke - the paint into the chip.
- Fill from the bottom of the chip upward, building thin layers.
- For scratches, use light feathering strokes along the length of the scratch.
- Stop when the chip is filled level with the surrounding paint surface. A small bump is ok.
Step 04
Let It Cure
- Leave the paint completely undisturbed — no touching, no wiping.
- In warm conditions (20°C+) the paint sets in about 30 minutes.
- In cooler weather, allow 1–2 hours before proceeding to the next step.
- The paint will look slightly raised — this is normal and expected.
Watch it in action →
Step 01
Confirm Full Cure
- With gloves on, touch the very edge of the repair lightly, it should feel firm, slightly tacky.
- If it's still wet, wait another 30 minutes before continuing. 1-6 hours the colder it is.
- Rushing this step is the number one reason paint does not stick in the chip.
- If too much paint comes out, just add a bit more on top, no need to remove the touchup paint before this.
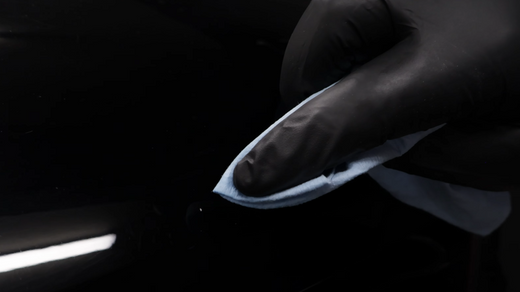
Step 02
Apply the Cleaner + Leveler
- Apply a small amount of Cleaner-Leveler to a fresh corner of the blue leveling cloth.
- Gently rub over the painted area, smooth motion, light pressure only.
- This removes any paint that sits above the surface, and the surrounding clear coat.
- It is ok if too much paint comes out, just add a bit more ChipFixx touchup paint and let cure longer if necessary - up to 1-6 hours in colder weather.
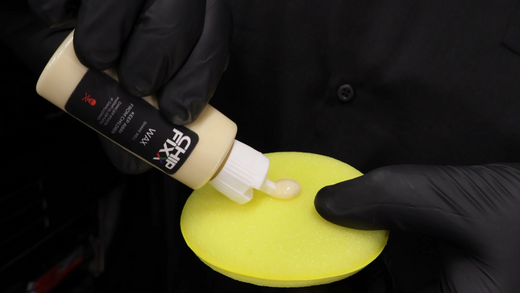
Step 03
Wax and Buff
- Use the dry side of the cloth to buff the area with a light touch and circular motion.
- The repair should now sit flush with the surrounding paint.
- For Premium and Pro kit customers: apply the included wax kit to remove any hazing. You can use your own wax kit if desired.
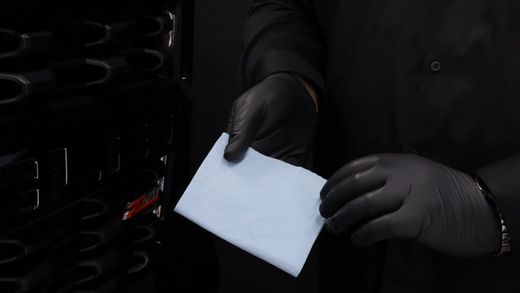
Step 04
Clean and Finish
- After wax completion, the final step is to remove all wax and finish with the microfiber cloth provided in the Premium and Pro kits.
- That is ChipFixx. Touch up made easy!
- Step back, and see the ChipFixx difference.
Watch it in action →
Ready to fix your chip? Your custom paint match is waiting.
Find My Colour Match